I am Front End Developer that doesn't mess around with pipelines at all. I leave that stuff to the DevOps guys. However, I watched a training video on LinkedIn Learning called Learning Static Site Building with Jekyll. I wanted to use Jekyll to build this blog. Figured I get some tips. One really helpful thing about the course is that Nate talks about building an automated pipeline. Chapter 5 specifically handles the case of doing this via FTP. I learned a lot watching the course but if you're paying attention it's a little old (was published in 2018). Nate has some videos where he talks about writing a deploy script. I followed it verbatim with the exception of updating the right paths to my environment. To my dismay I encountered errors. Memory Leaks to be exact. Node warned me about this and the script failed. Being a Front End Dev I was screwed.
I didn't want to give up the dream of automating this blog. So I went on a journey. First thing I did was take a look at updated npm packages for deploying via FTP. I found this guy. I think it'll work for FTP but I need sFTP for secure connections. It definitely does not work for sFTP. Then I decided to take a look at the package Nate used in his video. It's called ssh2-sftp-client. The documentation is huge and all I wanted to do was upload a simple directory. Toughing through it though I found a method called uploadDir and some docs for it. This got me on the right track. I modified the script for my purposes and soon I was on my way.
There are 2 things you need to do get this pipeline working.
- Write the deploy script
- Setup up Travis
Writing the deploy script.
Here's my modified version of the script from ssh2-sftp-client npm docs. Make a file called deploy.js in the root of your project and copy and paste this:
'use strict';

const path = require('path');
const SftpClient = require('ssh2-sftp-client');
const remoteDir = '/remote/path/to/your/blog'; // change this to your needs

require('dotenv').config(); // load environment variables from .env file

// we don't want to commit our FTP credentials to version control so we use env variables
const config = {
  host: process.env.FTP_DEPLOY_HOST,
  username: process.env.FTP_DEPLOY_USERNAME,
  password: process.env.FTP_DEPLOY_PASSWORD,
  port: process.env.FTP_DEPLOY_PORT || 22
};

const main = async () => {
  const client = new SftpClient();
  const src = path.join(__dirname, '_site'); // the default build directory for jekyll is '_site'. changes this to your needs however.

  try {
    await client.connect(config); // connect to the server
    await client.rmdir(remoteDir, true); // remove the old build

    client.on('upload', info => {
      // logs what's being uploaded
      console.log(`Listener: Uploaded ${info.source}`);
    });

    let result = await client.uploadDir(src, remoteDir);

    return result;
  } finally {
    // always close the connection
    client.end();
  }
}

main()
  .then(message => console.log(message))
  .catch(error => { console.log(`main error: ${error.message}`)});
Now we need to install the packages this thing requires. Run this command:
npm install ssh2-sftp-client dotenv --save-devYou'll notice we installed another package called dotenv. This is for our environment variables. Make a file called .env from the root of your project and configure your environment variables like so.
FTP_DEPLOY_HOST=your host ip/domain here
FTP_DEPLOY_PORT=22
FTP_DEPLOY_USERNAME=your username here
FTP_DEPLOY_PASSWORD=your password here
Finally, we need to add a deploy script to npm. Add this to your package.json file.
"scripts": {
  "deploy": "node deploy.js"
},
That's it for the deploy script. We can now run npm run deploy from the command line to deploy our site. But it gets even sweeter. Now we need to setup Travis CI for automated GitHub deploys.
Setting up Travis CI
Travis CI is going to look for a file called .travis.yml in the root of your repo. The very first thing we need to do is create this file and commit/push it to master. Here's mine:
language: node_js
node_js:
  - 10
before_script:
  - npm install
  - bundle install
  - rm -fr _site
  - bundle exec jekyll build
script:
  - npm run deploy
branches:
  only:
    - master
Note that on line 3 I'm explicitly setting a node version. This is because without doing so Travis complained that e.isDirectory() is not a function. This error doesn't happen with at least node 10 however.
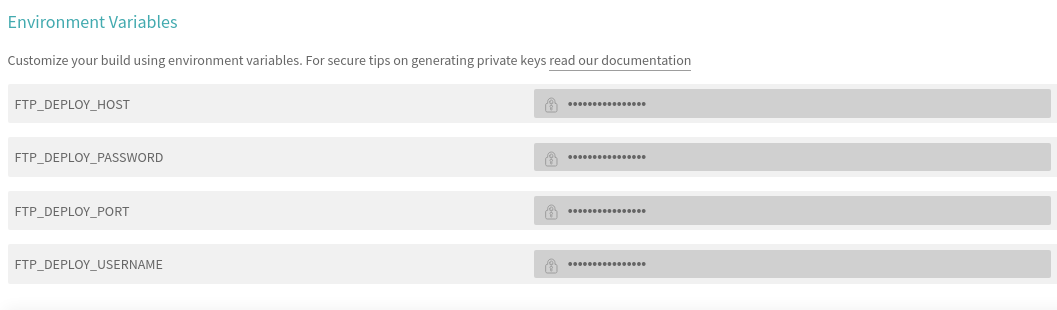
The next thing you need to do is setup an account with Travis. I suggest you use your GitHub account to do this. It's a straight forward process. Once you create an account, click the "+" icon next to the "My Repositories" tab. Select your repository then click "Settings". Under environment variables you'll need to add the same variables from you .env file. Your variables should like like this:
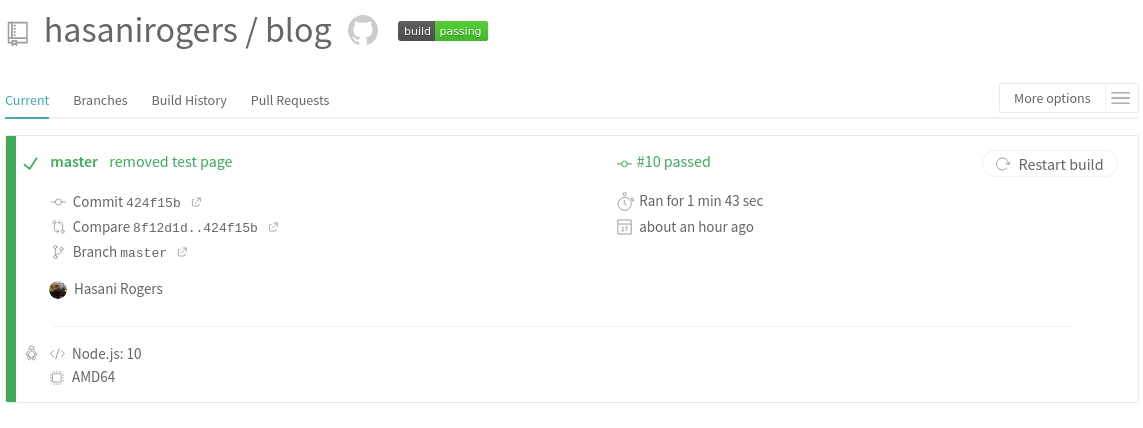
That's it. Now every time you push to master a build will be triggered. You can see the status of the build on the "Current" tab. It should look something like this: